DBcloudbin is now at Google Cloud Marketplace! Just follow the instructions on how to easily deploy a DBcloudbin appliance in your Google Cloud account and start saving by moving data from your database (on-premises or cloud) to your Google Storage bucket of choice.
The setup process is very simple and basically is comprised of three steps: Deployment, Configuration and Job execution.
-
Deployment
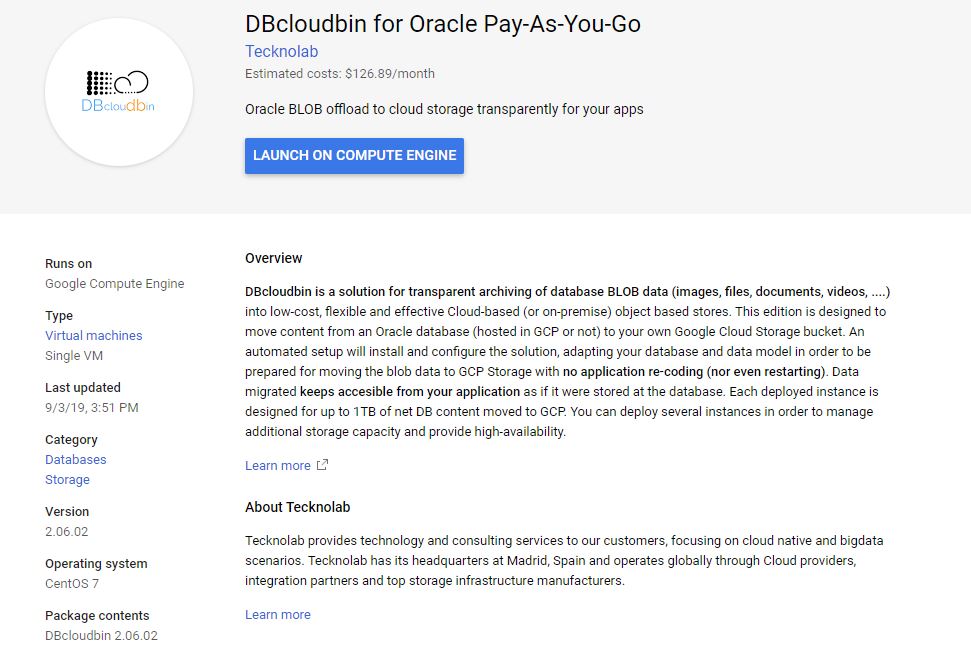
Deployment is automated with Google Cloud deployment manager. Go to Google Cloud Marketplace subscribe to the DBcloudbin specific offering plan from the four available (pay-as-you-go or bring-your-own-license for SQLServer or Oracle).
Once selected you will be redirected to Google Cloud portal to create the appliance VM. Provide the requested information. You can select different VM sizes and region/zone (this is important for high availability settings when planning to deploy the solution in a redundant configuration). In the case you will configure a highly available setup with several appliance instances, you will need to repeat the deployment for each instance; be prepared to use an existing or new “HTTP(S) Load Balancer”
If using the DBcloudbin pay-as-you-go offering, you need to create an Google Cloud Storage bucket where the DB content will be stored. During configuration, you will need to provide the bucket name.
Once provided all the information for vm creation, Google Cloud deployment manager will launch the deployment; wait until it is marked as “Completed”. It is very important to have a stable naming for accessing the VM from your Database; we recommend to use a DNS entry where the DB server(s) can resolve a name that points to the deployed instance or to the configured HTTP(s) load balancer in the case of high-availability configuration. For a simple single-node setup, a static IP (public and/or private depending on where your DB hosts are located, would ease DNS configuration).
-
Configuration
Once deployed the appliance we need to configure it to be used with your specific DB instance and application data model. Your database server(s) may or may not be running in Google Cloud; in any case connectivity from the database server(s) to the appliance by TCP port 8090 and from the appliance to the DB server(s) though the configured service port depending on your DB technology is required (e.g. default values are TCP 1521 for Oracle and TCP 1433 for SQL Server).The deployment is automatically configured to open TCP 8090 from public access; you can restrict, for security reasons, the access only from your DB server(s) providing a specific IP mask in the security group configuration.
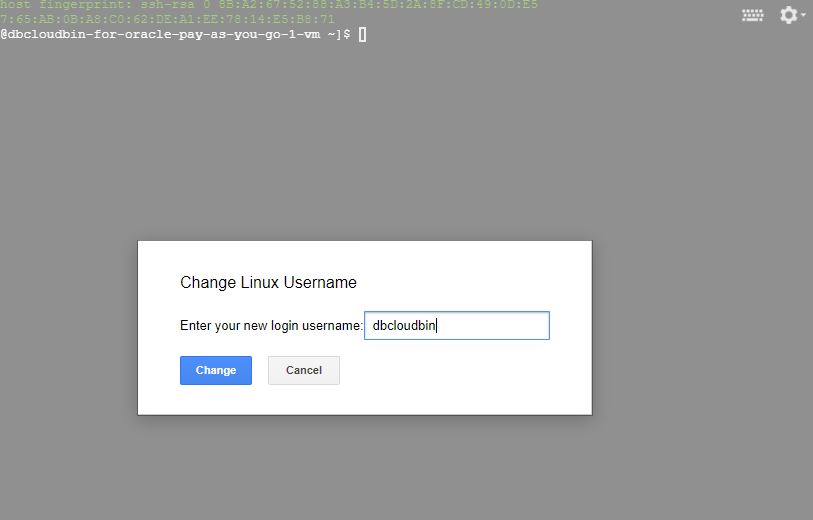
In order to connect to the appliance for final configuration you can use any SSH client or the built-in console in Google Cloud portal. Log in with the “dbcloudbin” user (for the built-in console, just press the “SSH” button, go to the options menu in the upper right corner in the console window and change the username to “dbcloudbin”.
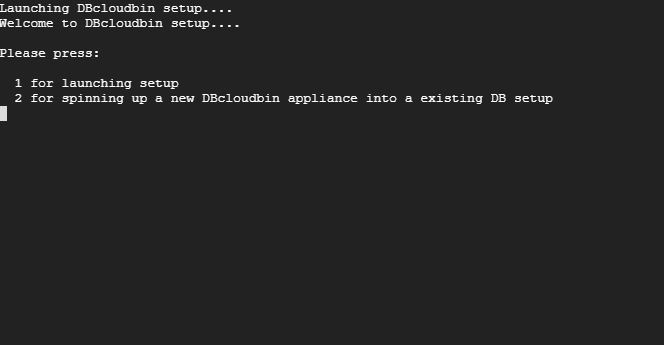
A short menu with two options will appear (option 1 for running a new install and option 2 for configuring the appliance into an already existing configuration; this second option is useful for upgrading to new releases or installing additional appliances in a high-availability scenario).
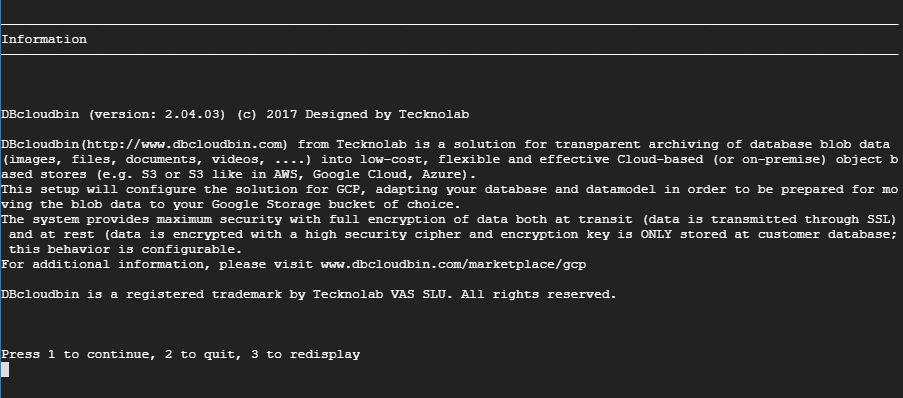
Press 1 and return; wait for the setup to start and follow the detailed instructions provided in the wizard. Just be prepared to provide DB connectivity information and credentials; you will be prompted also for the DNS name or IP for connecting from the DB host(s) to the appliance (the DNS name should be resolved by the DB host(s) pointing to the IP address assigned to the DBcloudbin appliance). We strongly recommend using an abstract DNS name registered into your DNS server (e.g. “dbcloudbin-appliance.mydomain.internal”) instead of directly the IP; this way the setup is much more flexible in the case we want to re-deploy the appliance with a new IP, add a load balancer in between, …
The setup wizard should finish with a success message (otherwise, please check the error and register a support ticket if necessary). You can execute the command line interface (CLI), e.g. “dbcloudbin info” that should provide information on the running DBcloudbin agent, version number, … In that case, the setup is OK; just check that your application (the one that uses the database) is working properly and everything is OK. Just move to the next step to execute data migration jobs, moving content to the object store configured (your Google Cloud storage bucket in the case of pay-as-you-go deployment).
The setup wizard can be restarted again at any point in time by typing the command “sudo -u dbcloudbin-setup /usr/bin/dbcloudbin-setup.sh”. From it, we can uninstall the solution, reverting back the configuration performed. Once uninstalled, we can safely delete the appliance if we want to stop using the solution.
-
Job execution
Data migration jobs as executed through the CLI (note: the CLI can be installed in any other server or in a Windows 10 workstation; just download the standard CLI from www.dbcloubin.com and select only the CLI package in the setup). You can run archive jobs interactively or use standard cron commands to schedule job execution. The simplest command for fully archiving one of the tables selected during setup, cleaning the data at the database would be “dbcloudbin archive -clean <table-name>”. Use “dbcloudbin -help” for detailed information of the available commands and “dbcloudbin <command> -help” for command specific instructions.
